
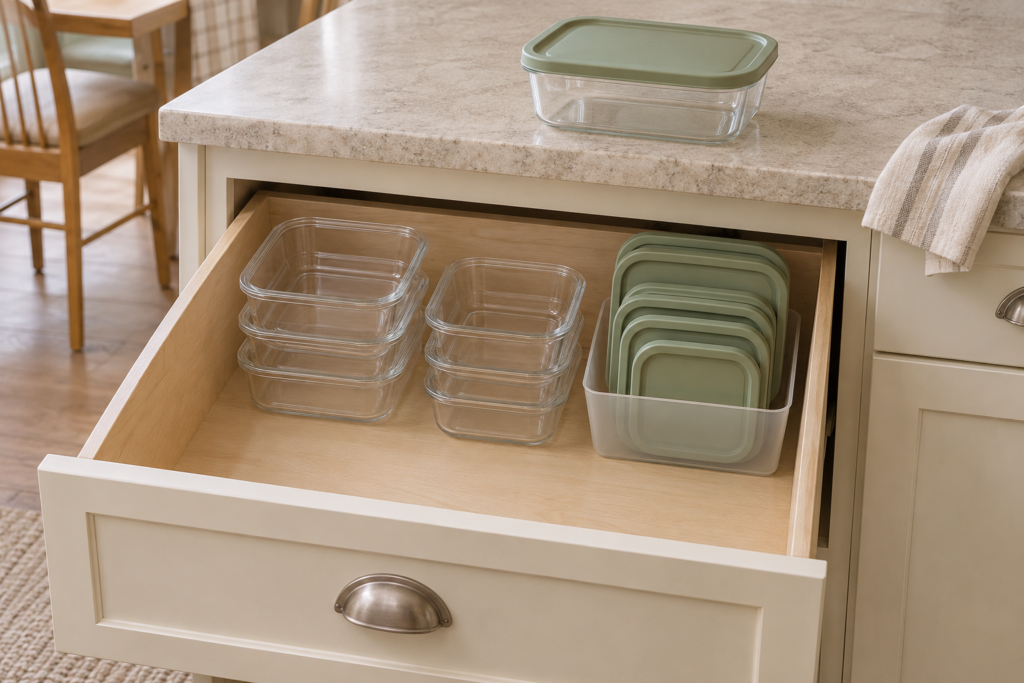
You have a container for the leftovers, but the lid you picked is a little too small. The next one looks right until one corner refuses to close. Meanwhile, the stack beside it slides across the shelf. If this sounds familiar, your food storage cabinet needs a simpler way to keep useful pieces together.
The best place to start is the moment that slows you down: finding a matching lid, lifting a container from a crowded stack, or putting clean pieces away. These five steps help you choose a storage method around that problem. Try the changes with the containers and bins you already own before deciding whether a new organizer would help.
1. Match every lid before deciding what deserves space
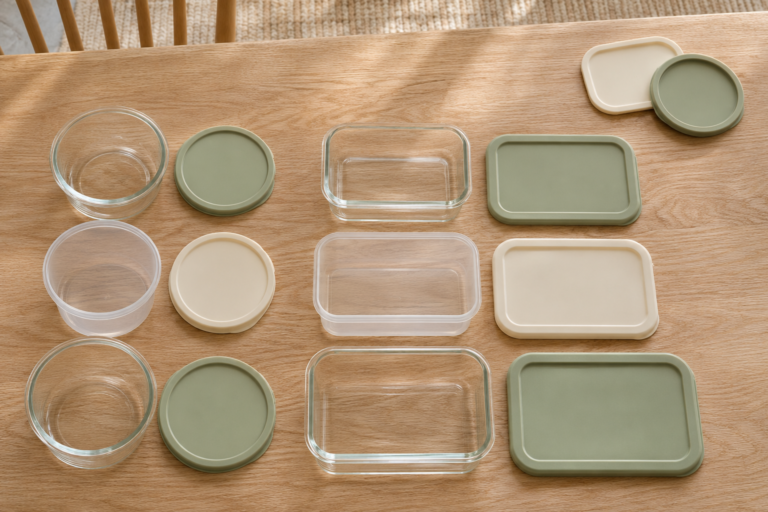
Start with one shelf or drawer, rather than emptying every kitchen cupboard at once. Set the containers and lids on a clear surface where you can see them. Try each lid on its intended base, checking the actual fit instead of relying on color. Two pieces can look nearly identical while belonging to different sizes or product lines.
Make three small groups: complete sets you use regularly, complete sets you use occasionally, and unmatched pieces. Check the dishwasher, drying area, refrigerator, and lunch bags before deciding that a partner is missing. Give genuinely useful orphan pieces one clearly bounded place while you look. Without a limit, the waiting pile can quietly become the whole cabinet again.
Choose what to keep around your real routine. A household that packs lunch every weekday may need several similar containers. Someone who mainly stores dinner leftovers may get more use from a few medium and large sizes. Keep occasional serving or holiday pieces separately if there is a suitable spot, so they do not crowd the everyday collection.
Do not feel obliged to replace working containers just to make everything match. Instead, note which sizes you repeatedly reach for and which ones remain untouched. When a piece eventually needs replacing, checking lid compatibility can prevent another new shape from entering the mix. Follow the manufacturer’s guidance for damaged pieces and local disposal rules.
For a wider kitchen reset, pair this focused task with our kitchen organization ideas. Finish this one category before moving on to utensils, pantry jars, or baking supplies.
2. Choose between ready-to-grab sets and compact nesting
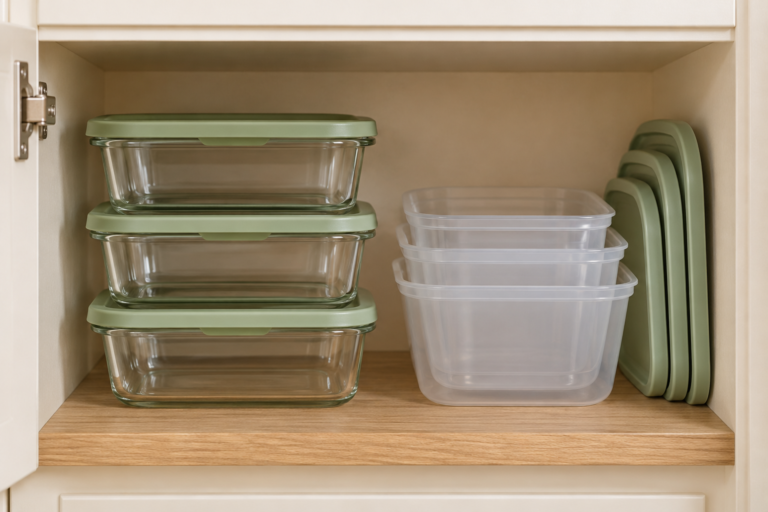
There are two useful ways to store empty food containers: keep each base with its lid, or nest the bases and store lids separately. Keeping complete sets together removes the matching step when you need one. Nesting makes better use of limited space. Choose according to what is harder in your kitchen, and allow different container types to have different homes.
If finding a lid is your main irritation, try storing a small everyday collection as complete sets. Place the most useful sizes near the front, in short, stable stacks that you can lift comfortably. Test taking one container out without moving the whole collection. Before closing lids for storage, wash and dry the pieces completely according to their care instructions.
If cabinet space is the bigger problem, nest compatible empty bases and store their lids beside them. Keep stacks short enough that retrieving the bottom container does not become a balancing exercise. Separate heavy glass pieces from lightweight plastic where that makes handling easier, and avoid forcing shapes together simply because they can be wedged into a stack.
Think about the container you reach for while holding a lunch bag or clearing dinner plates. If you need to move several stacks to get it, bring that size forward. If the base is easy to reach but its lid is always missing, give that particular set a dedicated spot. You can solve one awkward part of the routine without reorganizing every shelf.
You can combine the methods. Keep two or three frequently used lunch containers ready to grab, with the remainder nested nearby. Try the arrangement through several ordinary meals before buying anything. Notice which pieces are awkward to reach and whether clean dishes return to their places easily. Those small observations tell you more than a cabinet that looks tidy once.
3. File separate lids by the containers they actually fit
A lid organizer cannot make incompatible lids fit the same containers. If your collection includes several shapes and fastening styles, first divide it into groups that make sense together. A single long row can look orderly while still leaving you to test every lid. Two small, obvious groups may be more useful than one impressive-looking rack.
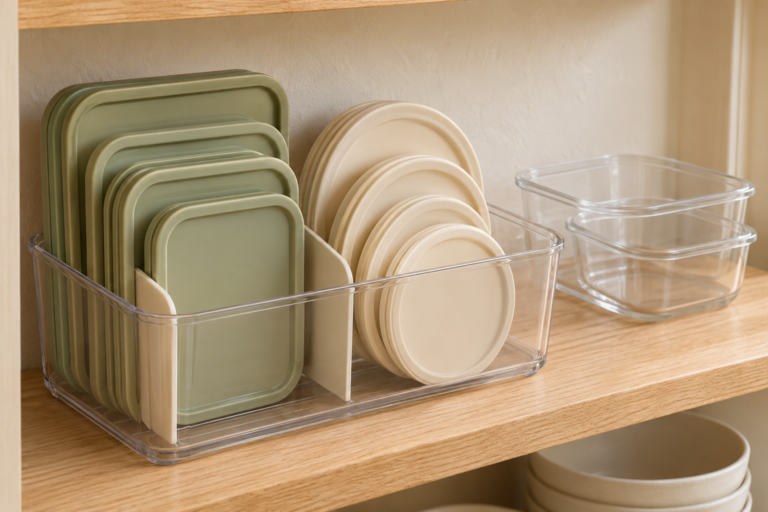
If you choose separate lid storage, create a few recognizable groups. Start with the container family, then divide by size only where it helps. For instance, keep round deli-style lids together and rectangular locking lids in another section. A large lid and a small lid from the same brand may still fit different bases, so test rather than assume compatibility.
Try a shallow bin you already own. Stand lids on their edges if the bin supports them, with larger pieces behind smaller ones. If thin lids slide underneath one another, a smaller compartment may be easier to manage than a wider one. Thick lids with clips may need their own space rather than being pressed into a tight row.
Flat storage is also worth trying when lids stack neatly and remain easy to separate. You do not have to file everything upright. The goal is to recognize a group and remove one lid without disturbing the rest. If a system requires you to rebuild the arrangement every time, simplify the groups or reduce the stack.
Use a label only if it removes uncertainty for someone in the household. A bin marked for lunch lids can be more helpful than several tiny labels on individual objects. Leave enough room to return a lid without carefully threading it into a packed compartment. A little spare space makes the arrangement easier to use on an ordinary busy evening.
4. Check the loaded organizer, not just its empty footprint
Adjustable dividers are useful when their spacing suits your lids. They are less helpful if bulky clips catch on neighboring pieces or the lid you need is trapped behind others. Individual customer feedback on lid organizers includes both easier access and difficulty accommodating clasp-style lids. Treat that as a reason to check your own collection, rather than a promise that one design will work for everyone.
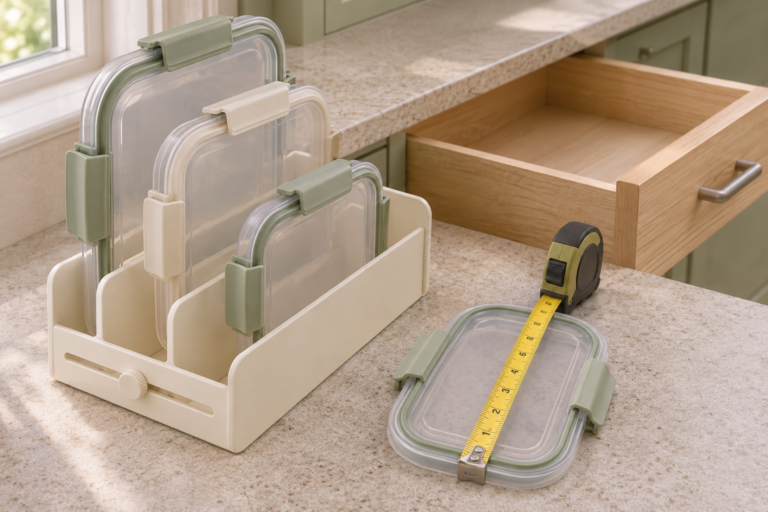
Before shopping, measure the usable inside of the cabinet or drawer. Check the opening as well as the interior: hinges, a center support, or drawer hardware can reduce the room available. Then stand your tallest lid in its intended storage position. Allow space above it for the drawer to close and for your hand to lift it out.
Next, look at the thickest part of the lid. A clasp, handle, or raised rim may need more divider space than its flat center suggests. An organizer can fit the shelf while holding fewer of your lids than you expected. Draw its footprint on paper or use removable tape on a clear surface, then arrange your actual lids within that outline.
Read the details for the exact model and size you are considering. Check the number of dividers, the stated lid-size limit, the usable base dimensions, and the cleaning instructions. A listing photograph may show a different collection from yours, and a capacity figure does not tell you how comfortably your thickest lids will fit. If several versions share a product name, compare their specifications rather than relying on the name alone.
Buy a dedicated organizer only when it solves something your trial setup does not. Useful questions include whether the dividers stay in place, whether you can clean the base, and whether the largest lid can be removed without lifting everything out. If a plain bin already works, keeping it is a perfectly practical result.
5. Make putting clean containers away the easiest step
An arrangement needs to work when every container is clean and back in the kitchen, not only when half the collection is in use. Once you have chosen your groups, put the full collection into its assigned space. If it only fits when several pieces are missing, reduce what lives there or give occasional items a separate home.
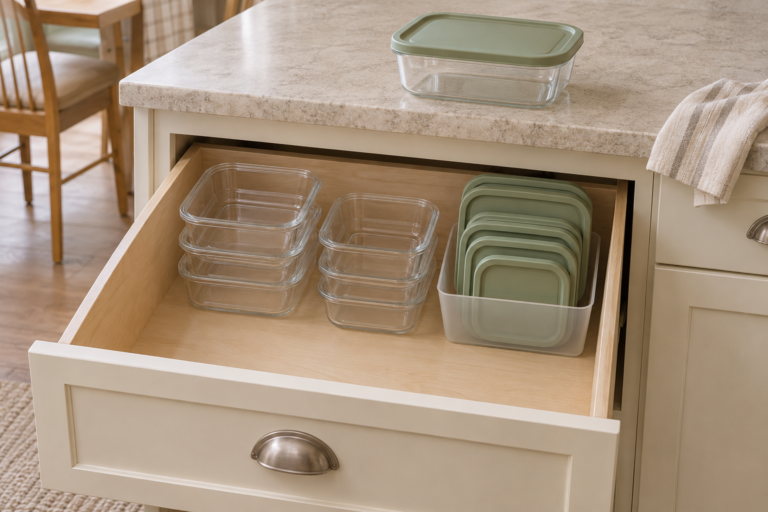
Place everyday food storage near the counter where you pack leftovers or lunches, if the kitchen layout allows it. Choose a position that is comfortable for the people who use it. A low drawer can make a collection easy to see from above; a shelf may work better when a lightweight bin can be brought to the counter. Keep heavier pieces in manageable stacks.
Walk through the return process once. Take out a container and lid, then put them back as though you were clearing the drying rack. If you have to lift several objects, squeeze past a divider, or remember an exact order, remove a step. Fewer broad groups can be easier to maintain than a highly detailed arrangement.
Agree on a simple boundary for incoming containers, especially takeout tubs you intend to reuse. For example, reserve one small section for complete spare sets. When that space is full, review the contents before adding another. Use containers only as directed by their manufacturer; a storage spot does not establish that a particular tub is suitable for repeated heating or freezing.
Revisit the drawer after a week. If one section keeps becoming a pile, adjust that section rather than rebuilding the kitchen. Our everyday home organization ideas can help you apply the same approach elsewhere, while kitchen counter styling ideas offers ways to keep the nearby work surface usable.
What to change if the cabinet still gets messy
After a few days, look at what has fallen out of place. That usually gives you a more useful next step than adding another bin. Change one part at a time so you can tell whether it makes the routine easier.
| What keeps happening | What to try next |
|---|---|
| You can find a base, but not its lid. | Keep the most-used sets together, or separate lids by the exact container family they fit. |
| Lids fall sideways when you remove one. | Try a narrower compartment or move a divider closer. Keep bulky clasp lids in a separate section. |
| Containers pile up on the counter after washing. | Check whether there is enough room when the whole collection is clean. Reduce the steps needed to put a set away. |
| You always lift several stacks to reach one container. | Move that size to the front and shorten the stacks around it. Store occasional pieces separately. |
Start with the problem that slows you down
Start with the smallest change that addresses your actual frustration. If matching takes too long, keep your favorite sets together. If empty containers occupy too much room, try short nested stacks with lids grouped beside them. If lids keep falling over, test a supported bin before choosing a more specialized rack.
A useful food storage cabinet does not need a matching collection or a new product. It needs a clear place for the pieces you use, enough room to retrieve them comfortably, and a return routine that everyone can follow. Once those parts work, the tidy appearance is much easier to maintain.