

Gift wrapping can take over a small home surprisingly quickly. A few rolls lean behind a door, saved gift bags disappear into a pile, and the scissors seem to belong to every room except the one where you need them. By December, finding the supplies can take longer than wrapping the present.
A useful system does not need a craft room or a large organizer. It needs to fit the materials you actually use and the space where you can put them away. These twelve ideas help you prepare for Christmas wrapping while keeping the same supplies useful for birthdays, thank-you gifts, and other occasions.
1. Sort the supplies before choosing an organizer
Gather wrapping supplies from their scattered hiding places and sort them into broad groups: paper, bags, tissue, ribbon, tags, and tools. Check what is genuinely usable. A gift bag with a torn base or a tag whose adhesive no longer holds may be taking up space without helping you.
Set aside the materials you enjoy using and the sizes that suit the gifts you normally give. Keep a reasonable selection rather than every bag or bow that has ever arrived at your home. If you have usable extras, offer them to someone who wants them before creating more storage.
Choose an organizer only after this sort. A large storage case can be convenient for a big collection, but it may be awkward to lift, open, or store in a small apartment. The amount left to organize should guide the container.
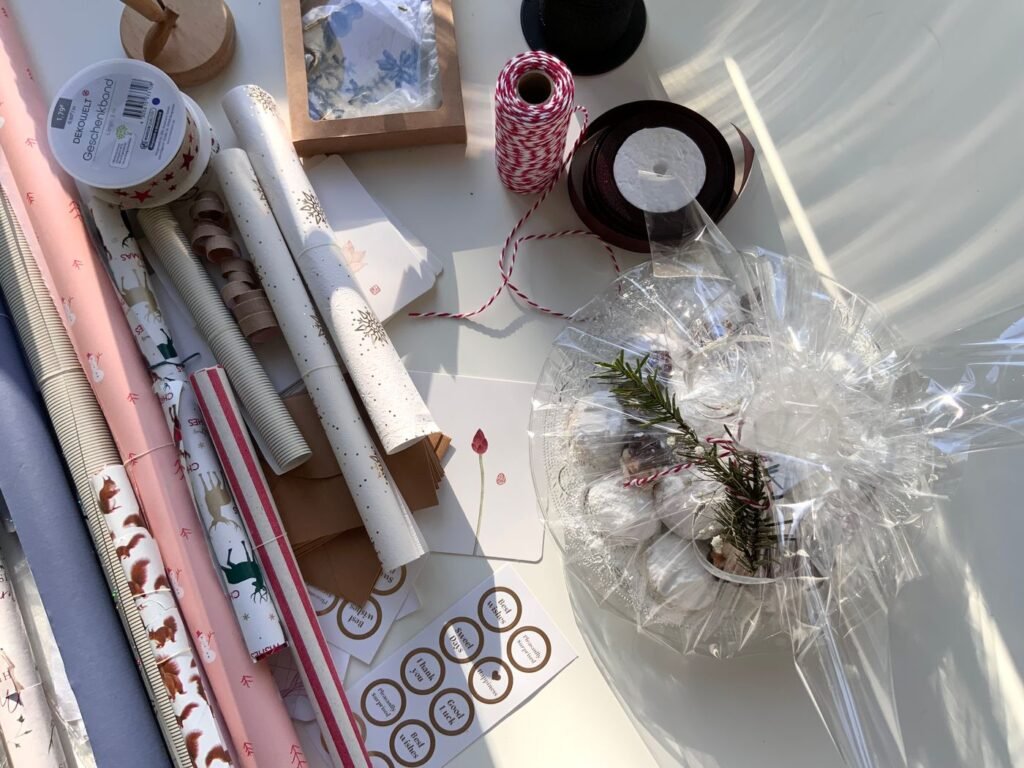
2. Build a small selection that works for several occasions
A few papers and ribbons that work together are easier to store than a separate collection for every possible celebration. You might keep plain kraft paper, one patterned roll, and two ribbon colors. Change the tag or ribbon to make the same paper feel festive, simple, or suitable for a birthday.
This is an option, not a rule about how your gifts should look. If colorful wrapping is part of the pleasure for you, keep the patterns you love. Limit the quantity to what fits comfortably in your chosen storage rather than replacing a varied collection with new neutral supplies.
Group this season’s choices at the front so you can start wrapping without sorting again. Before buying more, check whether an existing paper or gift bag already does the job.
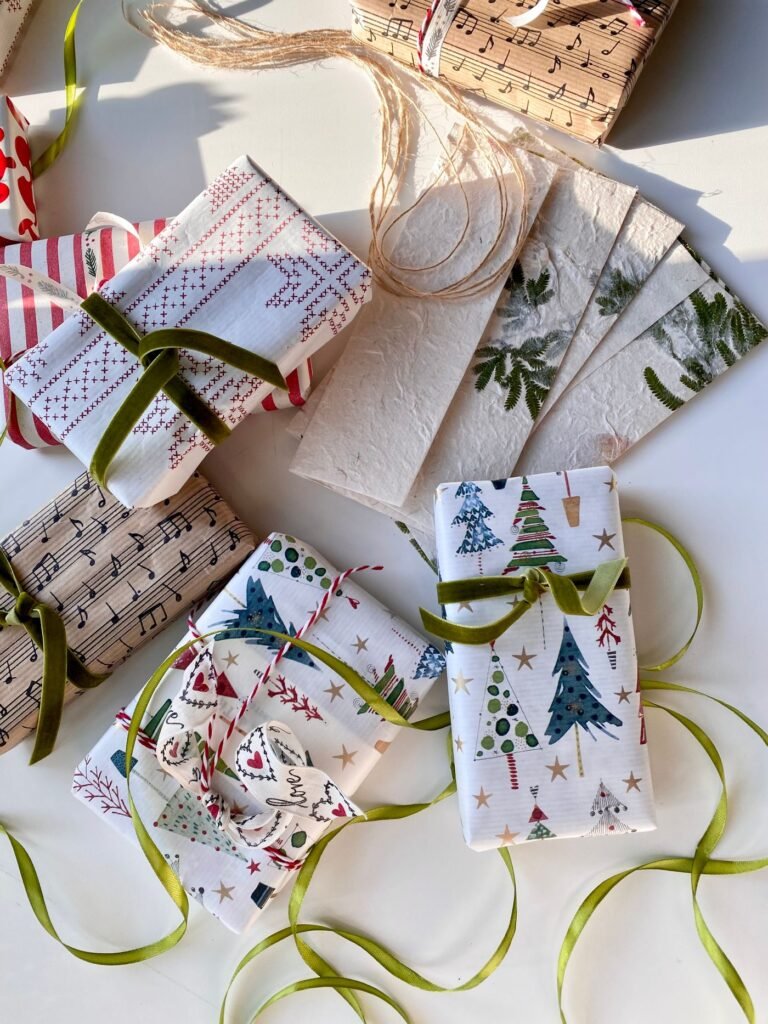
3. Use an existing table as a temporary wrapping station
A dining table, desk, or other stable work surface can become a wrapping station for an evening. Clear enough space to turn the gift and unroll the paper without pushing objects onto the floor. Protect the surface as needed, and avoid cutting directly against a tabletop.
Bring out only the gift and materials you are using now. A whole collection spread across the room makes it harder to measure paper and gives you more to clear before the next meal. Put finished gifts in a separate spot as you go.
Choose a setup that lets you sit or stand comfortably, with enough light to see your cuts and folds. If the table has another daily purpose, decide when it needs to be clear again. A temporary station can still feel organized when putting it away is part of the plan.

4. Make a portable kit for the tools you reach for repeatedly
Keep scissors, tape, a pen, and a small supply of tags together in a shallow box, pouch, or tray. These are the items that interrupt wrapping when one is missing. A container you can carry to the table is often more useful than a permanent display.
Choose a kit that opens easily and lets you see the contents. If everything is buried under spare ribbon and decorations, the kit has become another rummaging box. Put refills underneath or in a separate small compartment, and leave the frequently used tools on top.
Return the tools when the session ends so they are ready next time. Store sharp tools appropriately for your household. For more ideas on organizing a small hobby setup within a shared room, see our everyday hobby corner ideas.
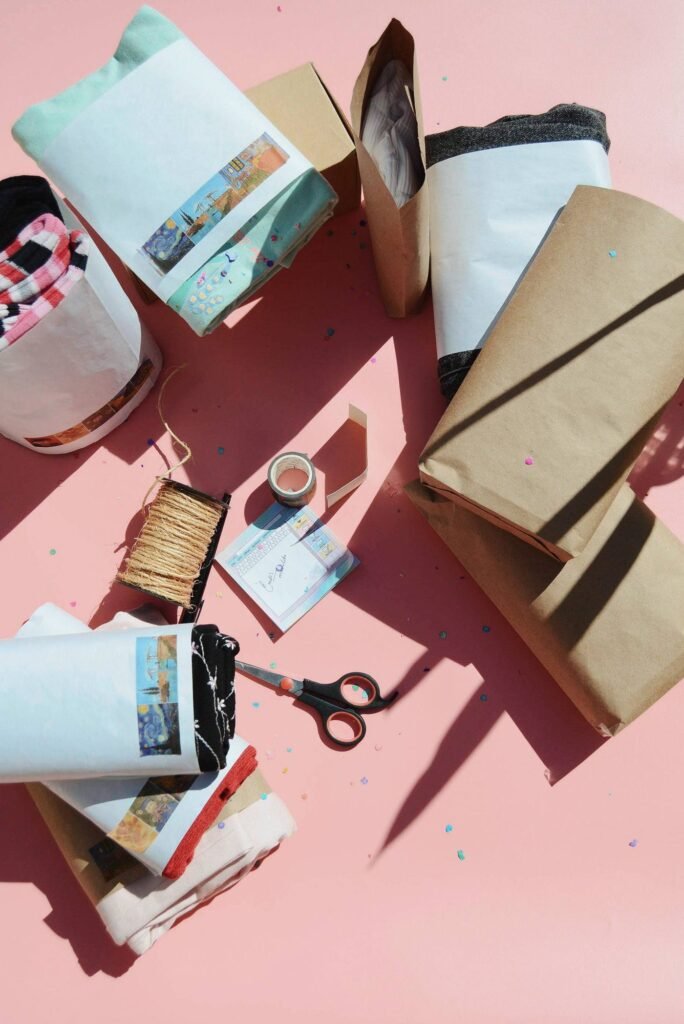
5. Measure your longest paper roll before picking its home
Paper rolls can be longer than a storage box looks in a product photograph. Measure the longest roll you want to keep, then compare it with the container’s usable interior dimensions. Include room to take the roll out without bending its ends.
An upright container in a closet corner may suit a few rolls, while a long covered box may work under a bed. Check the actual opening, surrounding furniture, and available height before choosing. Neither approach is automatically better; the useful one is easy for you to access and put away.
Keep the loose edge of each roll controlled with a reusable paper band or another gentle fastening that does not damage the wrap. Avoid forcing rolls into a narrow space where they become crushed. Keep them dry and away from places where they will be splashed.
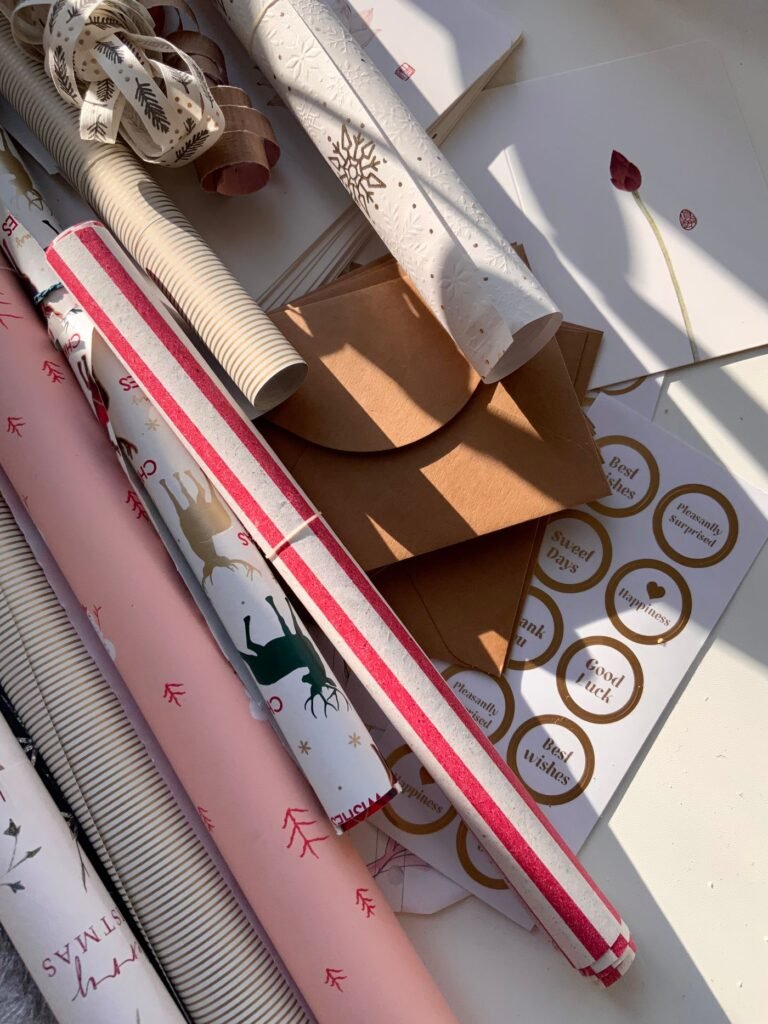
6. File reusable gift bags so you can see the sizes
Fold empty gift bags along their existing creases and sort them by a few useful sizes. Place them upright in a suitable box or open holder, rather than building a deep horizontal pile. Being able to browse the edges makes it easier to find a small bag without emptying the whole collection.
Keep handles tucked inside so they do not catch on neighboring bags. If a large bag bends over the others, give it a separate flat spot or use it to hold a small group of similarly sized bags. Do not force every size into one container.
Check that the system fits the shelf as well as the bags. Leave enough room to lift a bag out. A tightly packed box that must be pulled apart each time is unlikely to stay orderly, even if everything technically fits.

7. Give tissue paper a flat, protected space
Keep clean tissue paper folded in a broad folder, shallow box, or another dry space where heavier supplies will not crush it. Separate a small stack of fresh sheets from reused pieces so you know which to reach for when appearance matters.
Save reused tissue selectively. A sheet with a few folds may still work inside a gift bag, while a tiny torn piece may never be useful to you. Let the size of your storage set a practical limit instead of keeping a growing bundle that is difficult to flatten or find.
Store colors together loosely enough that you can remove a sheet without dragging out the whole stack. If tissue is something you use only occasionally, it can share a box with gift bags, provided the bags do not squash it and you can reach both.
8. Keep ribbon on its spool and wind loose lengths separately
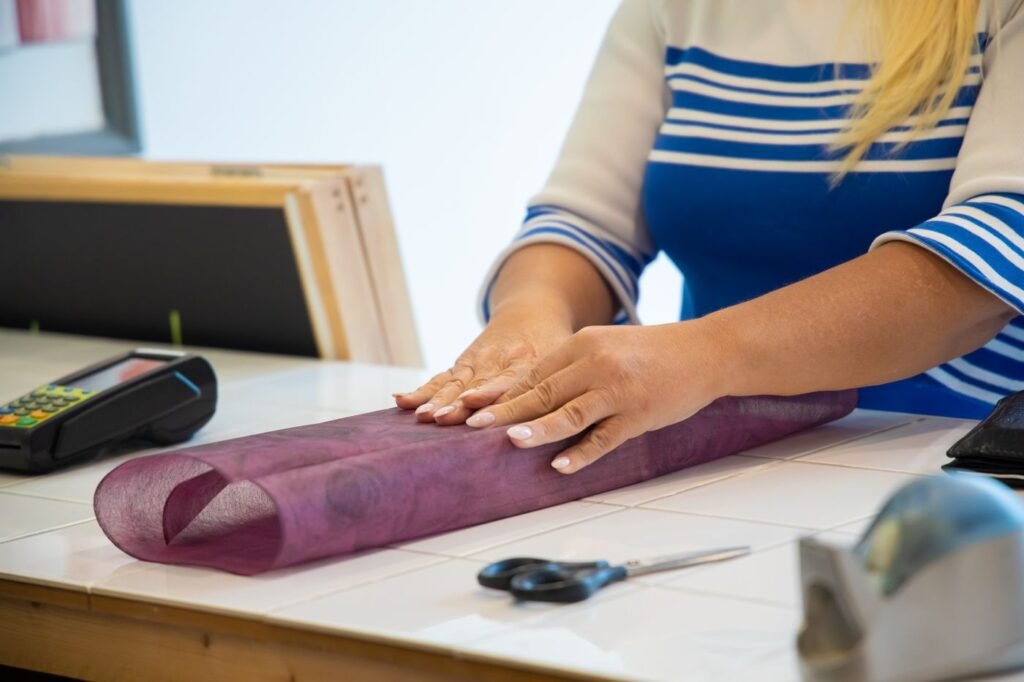
Store ribbon spools with their ends secured so one does not unwind through the rest of the collection. Arrange them in a shallow box where you can see the colors and approximate amount left. A simple row may be easier to maintain than an elaborate dispensing arrangement.
For loose lengths, wind each around a small piece of clean cardboard and tuck or gently fasten the end. Keep only lengths that are useful for the gifts you wrap. A handful of manageable pieces is easier to choose from than a bag of tangled ribbons.
Separate bulky bows from flat ribbon so their shapes are not crushed. If you do not use premade bows, you do not need to reserve storage for them merely because they came with previous gifts. Let your own wrapping habits decide what stays.

9. Put tags, cards, and a working pen in one small compartment
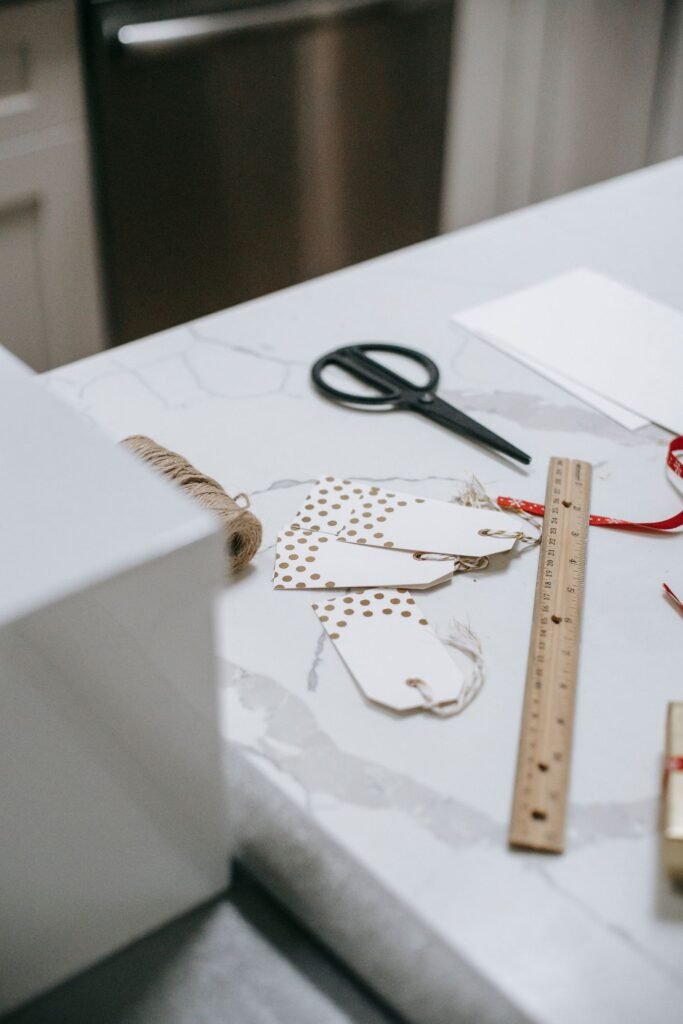
Gift tags are easy to lose because they are small and often arrive in several formats. Group sticker tags, tie-on labels, and small cards in an envelope or divided box. Keep them near the writing tool you use so labeling a finished gift is one quick step.
Check a few older stickers before depending on them for a large wrapping session. If they no longer stick, use another suitable attachment or move on to tags you can use. There is little value in keeping a large packet that repeatedly creates extra work.
Keep a few blank tags if you like using the same supplies year-round. Write the recipient’s name when each gift is wrapped, rather than planning to remember which similar package belongs to whom. This also helps anyone else in the household who is arranging or delivering the gifts.
10. Separate unwrapped gifts, finished gifts, and wrapping supplies
Give the gifts themselves a temporary home that is separate from the supply box. Otherwise, a stack of presents can hide the paper, ribbon, and tools you still need. Use a suitable shelf or container and keep any gift-specific care or storage requirements in mind.
Within that space, distinguish what still needs wrapping from what is ready. A short checklist or removable note can be enough. If several people are giving similar items, include the giver as well as the recipient in your private notes.
Group finished gifts by destination when that helps, such as family visits or items to mail. Keep gift receipts with the appropriate present and follow the retailer’s return instructions. For broader ideas on keeping temporary household categories manageable, see our everyday home organization ideas.

11. Save usable paper offcuts in one limited folder
Keep larger leftover pieces of wrapping paper together in a flat folder or shallow box. They may be enough for a small book, jewelry box, or another compact gift. Place them where you will check before cutting into a new roll.
Choose a practical minimum size based on what you actually wrap. Saving every narrow strip can turn the folder into a pile of pieces you repeatedly reject. Remove damaged or unsuitable offcuts, and keep different materials easy to identify.
You can combine compatible papers on a gift if you enjoy the look, but there is no need to turn using scraps into another craft project. The purpose of saving them is to make the next gift easier to wrap. If a piece stays untouched year after year, reconsider whether it deserves the space.

12. Choose one easy put-away routine for the whole collection
At the end of a session, return the tools, secure the paper rolls, and put usable leftovers in their assigned places. Keep a small bag beside the table for waste while you work, then sort disposal according to your local rules and the material involved. Do not assume every decorative paper or ribbon belongs in recycling.
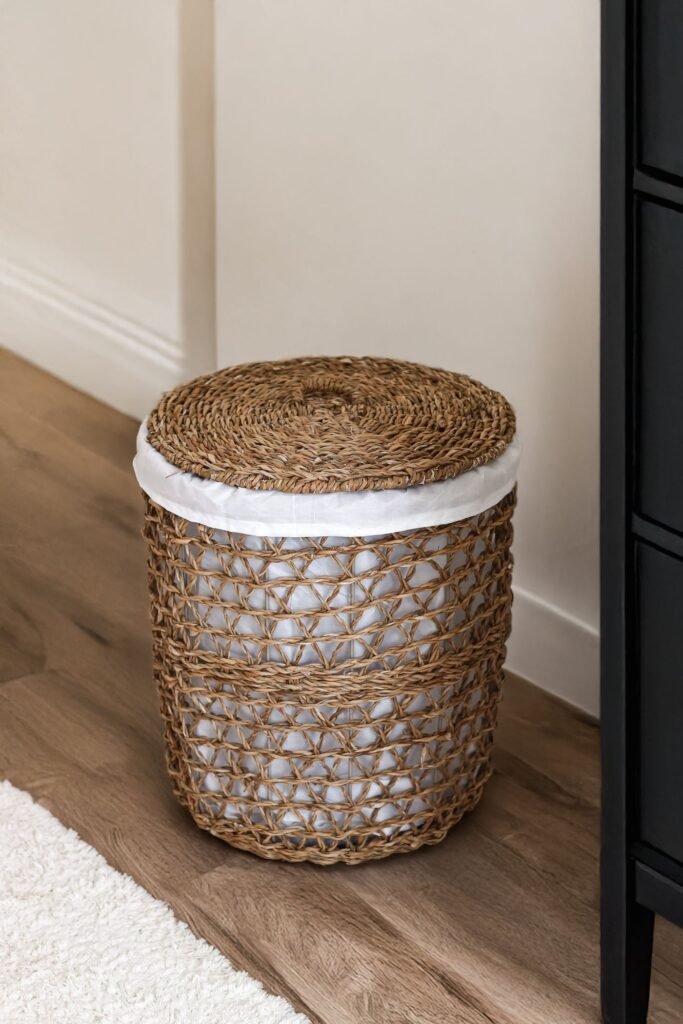
Store the smaller supplies together in a clearly identified box or basket, with the rolls beside it if they do not fit inside. A two-part system can be easier than one oversized container. Choose a location you can reach without dismantling a closet.
After the holiday, check what you used before shopping clearance sales. Replace a missing essential if needed, but let your storage capacity guide the amount you bring home. The best routine is one that leaves the supplies ready for the next ordinary gift, not only next Christmas.
Keep the system smaller than the task
Start with the problem that slows you down most. File the gift bags, gather the tools, or find a proper place for the longest paper roll. You can improve one part without buying a complete organizing system.
A small, usable collection is easier to carry to the table and put away afterward. Once each material has a place, wrapping can become an enjoyable part of giving rather than a search through cupboards. Keep what supports the way you like to wrap, and leave room to use it.