
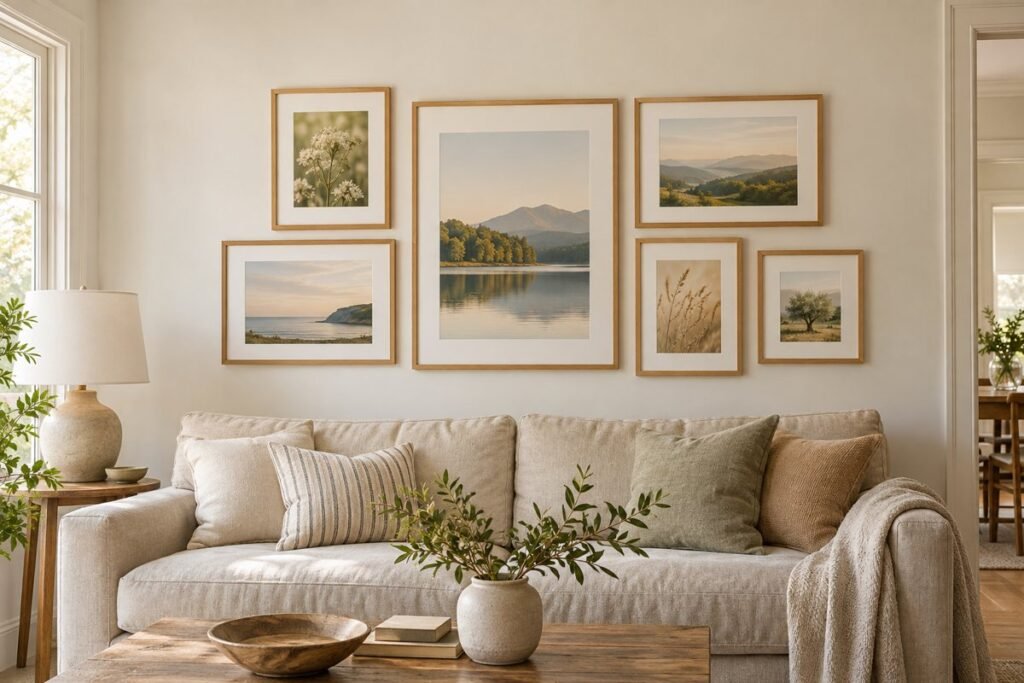
A blank wall above the sofa can be hard to finish. One picture may feel too small, but a full wall of frames can seem like a big job. These living room gallery wall ideas will help you find a middle ground. You can start with photos, prints, or small pieces you already own, then build a display that feels like home. There is no need to buy everything at once or make every frame match. The aim is to choose pictures you enjoy, give them a clear place, and plan the layout before you start making any holes indoors.
1. A Small Wall of Favorite Photos Above a Cabinet
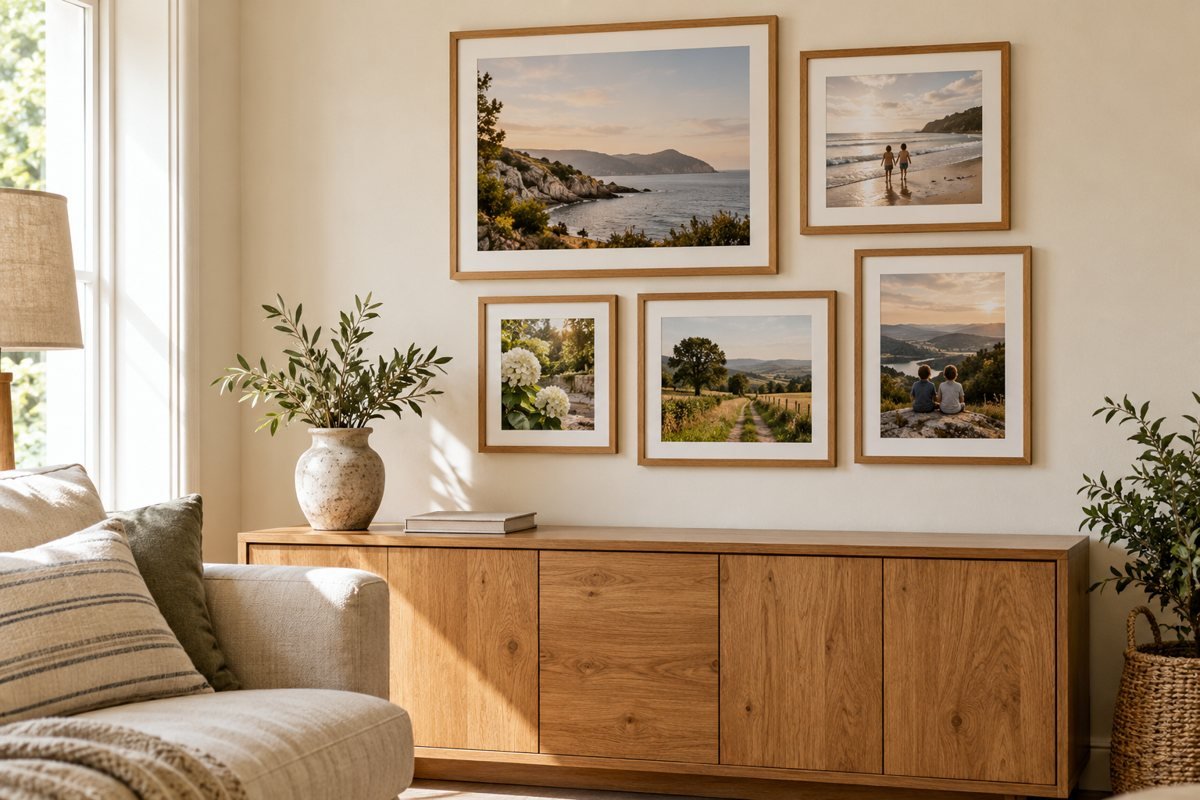
Hang a small set of favorite photos above a low cabinet. Choose pictures you enjoy seeing every day and let that personal link guide the display.
Before you choose frames, gather the pictures you enjoy most. Look through family photos, old postcards, drawings, and prints you have kept in a drawer. Put them on a table so you can see them together. You may find a theme without trying too hard. Perhaps most of your favorites show the sea, family trips, or quiet places.
Leave out anything you only chose to fill a gap. A small group of pictures you love is a better start than a large set that means little to you. You can always add more once the first few pieces are in place.
2. A Blue Accent Print Surrounded by Soft Neutral Art
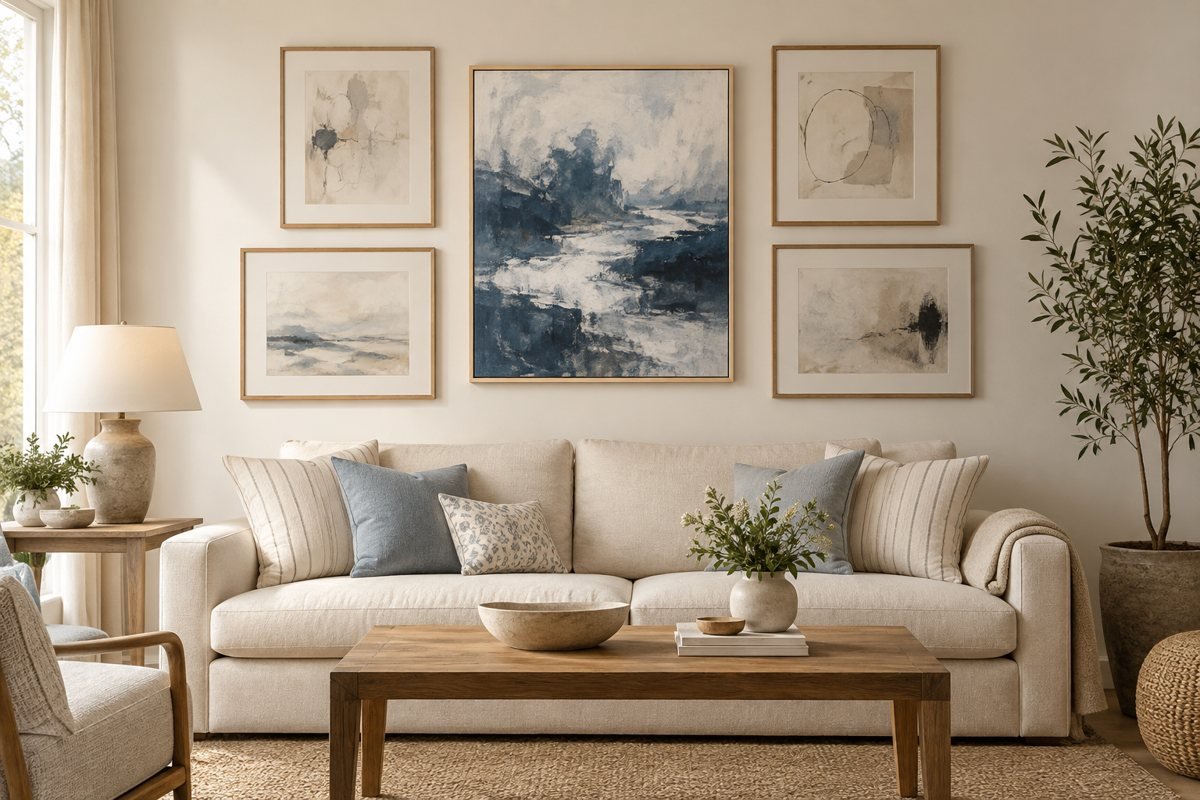
Build a small group around one blue print, with softer cream and gray pictures nearby. Repeat a touch of blue so the pieces feel connected.
If you feel stuck, pick one picture and use it to guide the rest. It could be a photo with warm brown tones or a print with soft blue shapes. Look for one or two colors you could repeat in other pieces.
You do not need to match each picture exactly. A blue detail in one photo can work with a pale blue drawing nearby. This gives you a clear starting point while leaving room for choice. Keep the main picture in view as you sort the others. If a new piece feels out of place, try it in another room instead.
3. A Four-Frame Gallery Above a Reading Chair
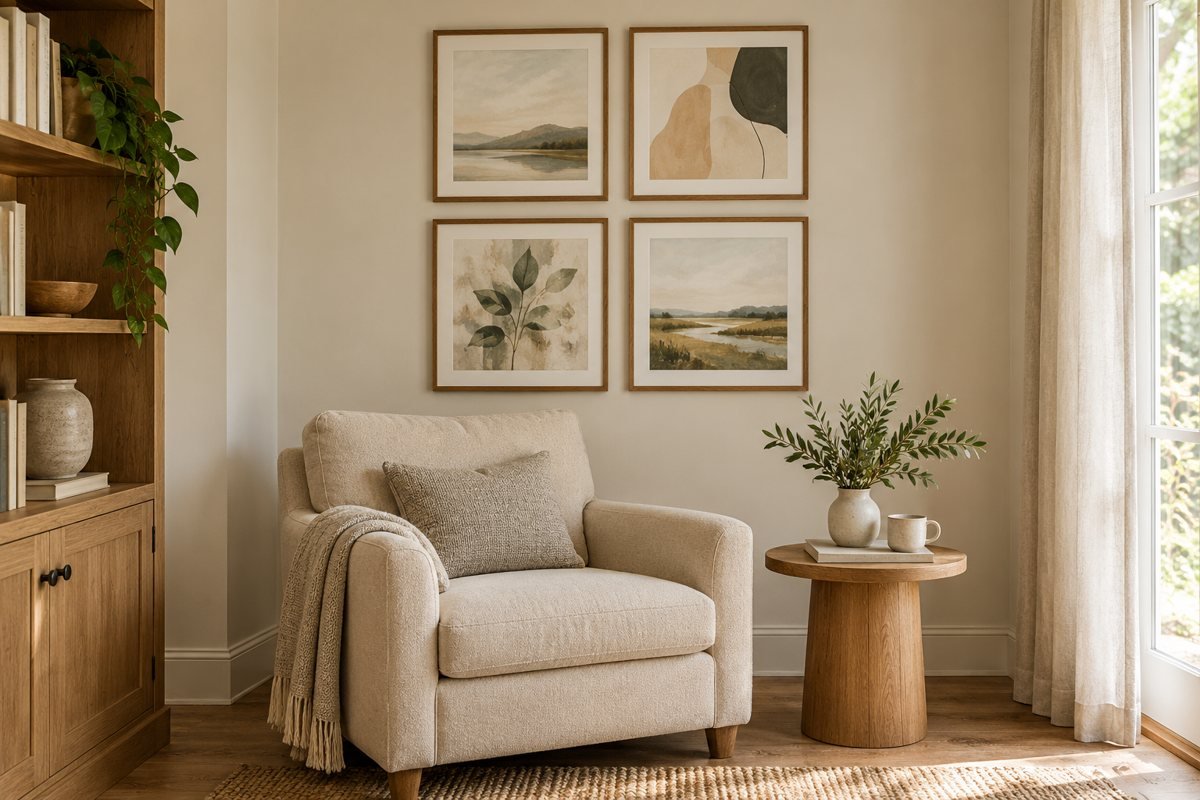
Use four frames in a neat square above a reading chair. This small display gives the corner a finished look without filling the whole wall.
You do not have to finish the whole wall in one weekend. Start with a few frames that fit the space you want to use. A small display beside a chair or above a narrow cabinet is a good place to practice.
Choose a clear shape for that first group. It might be a short row, a square, or a loose cluster. Leave the rest of the wall empty while you live with the display. This helps you see what you like before you buy more. It also gives future photos and new finds a place to join the collection.
4. A Gallery Wall Placed Close to the Sofa

Set the frame group above the sofa where it feels connected to the seat below. Test the view from the sofa and the doorway before hanging.
A gallery wall should look good from the places where you spend time. Sit on the sofa and look at the wall before you mark any holes. Then check the view from the doorway and any nearby chairs.
Pictures that seem well placed while you stand close may feel too high when you sit down. Treat the whole group as one display rather than hanging each frame on its own. Ask someone to hold up a paper shape while you look from across the room. Move it until the space above and below the group feels right for your furniture.
5. A Single Row of Matching Frames Above a Console
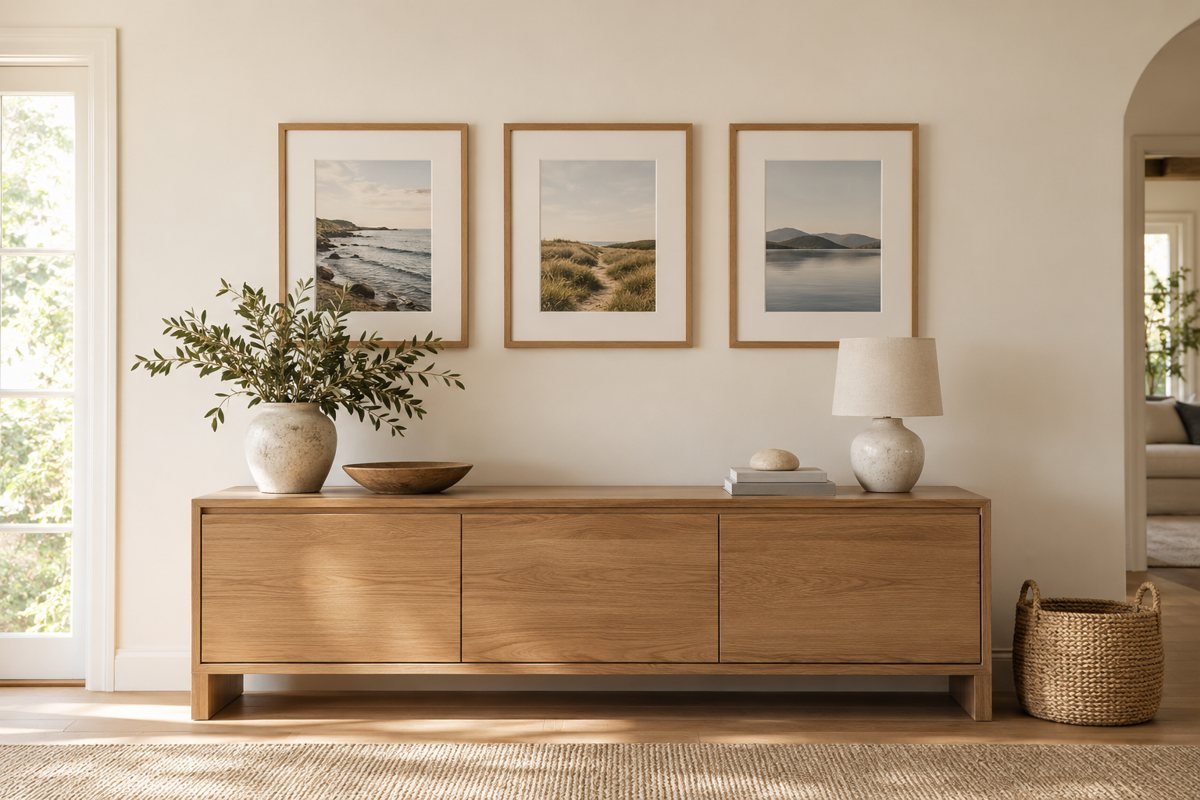
Place matching frames in one clear row above a console. Align their top edges or centers and keep that choice the same across the group.
A single row can look calm and clear, which makes it a useful choice for a first gallery wall. Choose a small set of frames and line up either their top edges or their centers. Pick one approach and keep it the same along the row.
Try this with photos of one place, a few drawings, or pictures from different years. Matching frames can help if the images vary a lot. Keep the display close enough to the furniture below that they feel connected. A row that stretches far beyond a small cabinet may look less settled than a shorter group.
6. A Mixed-Size Gallery Wall in Light Wood Frames
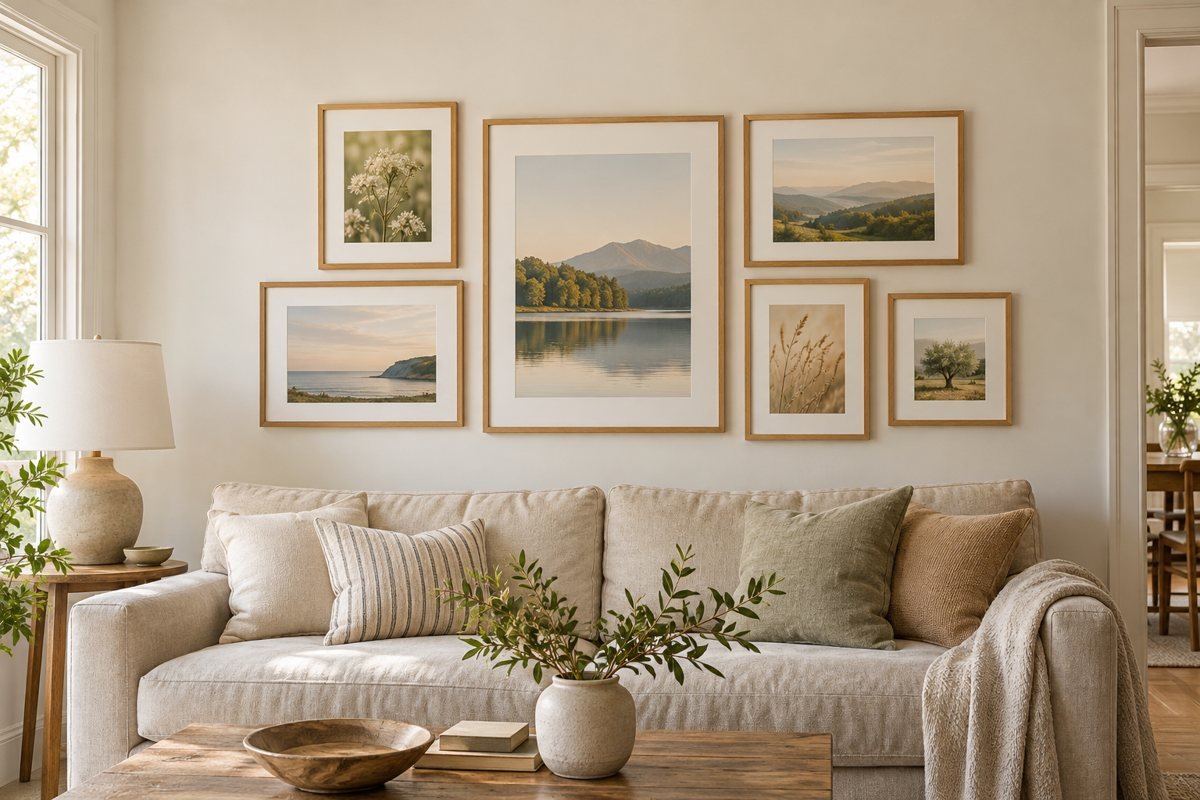
Use light wood frames in several sizes to bring a mixed group together. Start with the largest picture and arrange smaller pieces around it.
Frames in different sizes can work well together. The key is giving them something in common. You could use light wood frames, repeat white borders around the pictures, or choose images with similar colors.
Lay out the largest frame first, then place smaller ones around it. Move things until no corner feels much heavier than the rest. You do not need perfect balance on both sides. Try placing a dark image beside two lighter ones, then step back. If your eye goes straight to one spot and stays there, shift a few pieces to spread the visual weight.
7. A Family Photo Gallery Wall in Warm Wood Frames
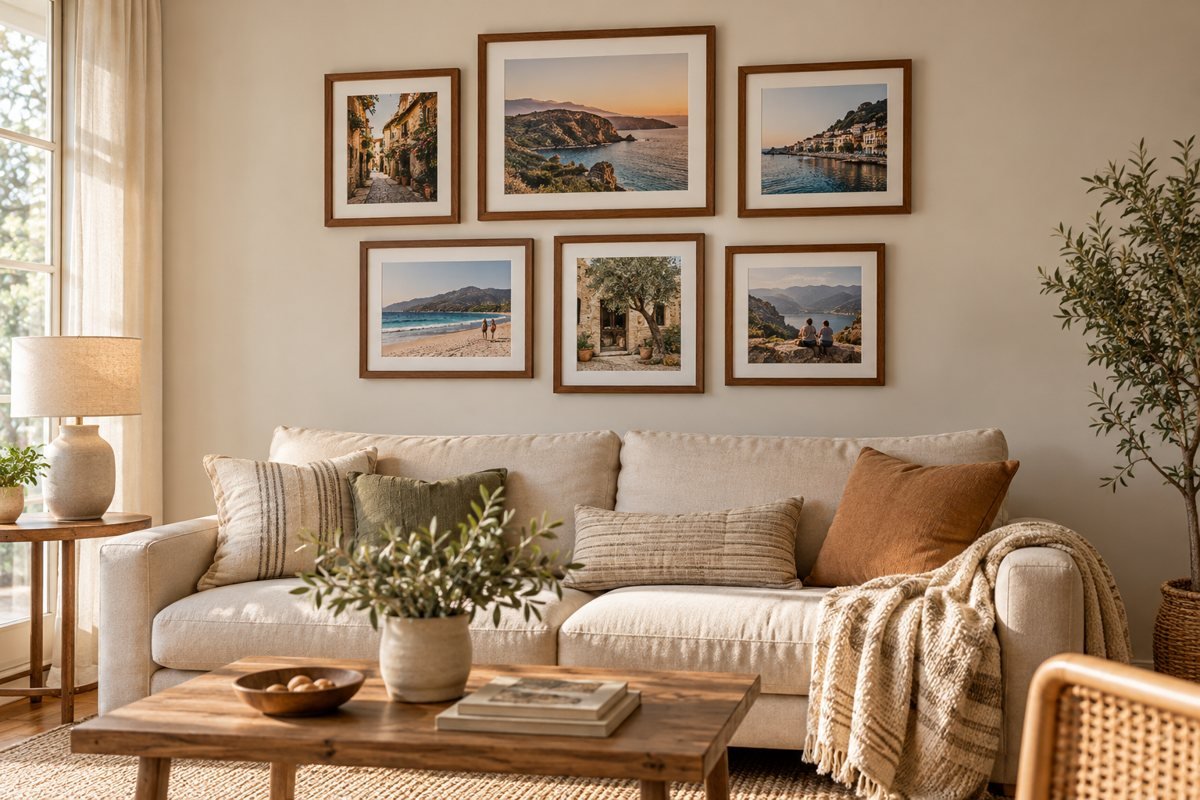
Use warm wood frames for a group of family photos from one trip or time in your life. Mix close views with wider scenes to tell the story.
Family pictures are easy to collect but can be hard to narrow down. Choose a small story for the wall rather than trying to include every good photo. You might focus on everyday moments, one family trip, or the children at different ages.
Mix close views with wider scenes so the display has some variety. A picture of everyone laughing at a table can sit beside a quiet photo of the place you visited. Before printing, check that each image still looks clear at the size you want. Keep spare photos in an album so you can swap them later.
8. A Black-and-White Photo Wall with One Color Picture
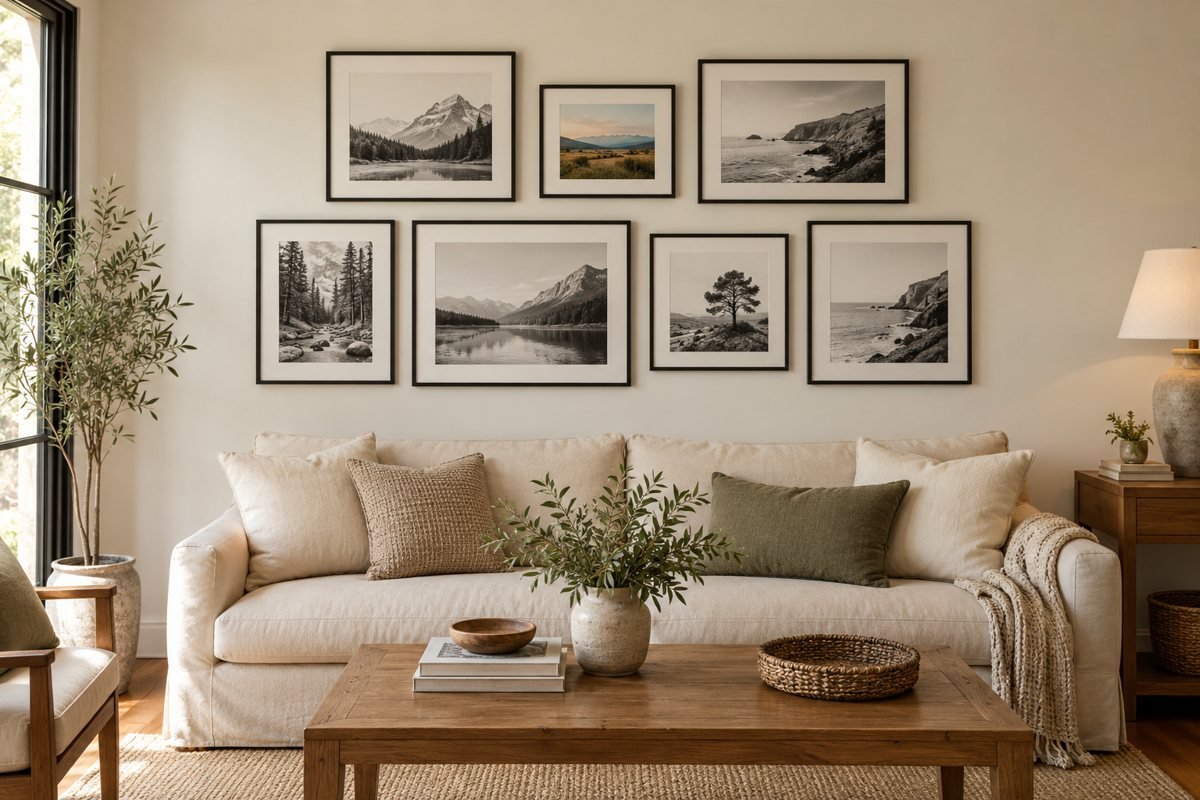
Make a mostly black-and-white photo display with one small color picture as a highlight. Use shared frame finishes to hold the group together.
Photos taken in different places often have colors that do not work well side by side. One may show bright clothing, while another has a dark background. Making copies in black and white is one way to give them a shared look.
Test a few prints before changing the whole group. Some pictures lose useful detail without color, so this will not suit every photo. You can also keep one color photo as a small highlight. Use the frames and borders to tie it to the others. Save the original image files so you can return to them whenever you want.
9. A Child’s Drawing Framed Beside Family Photos
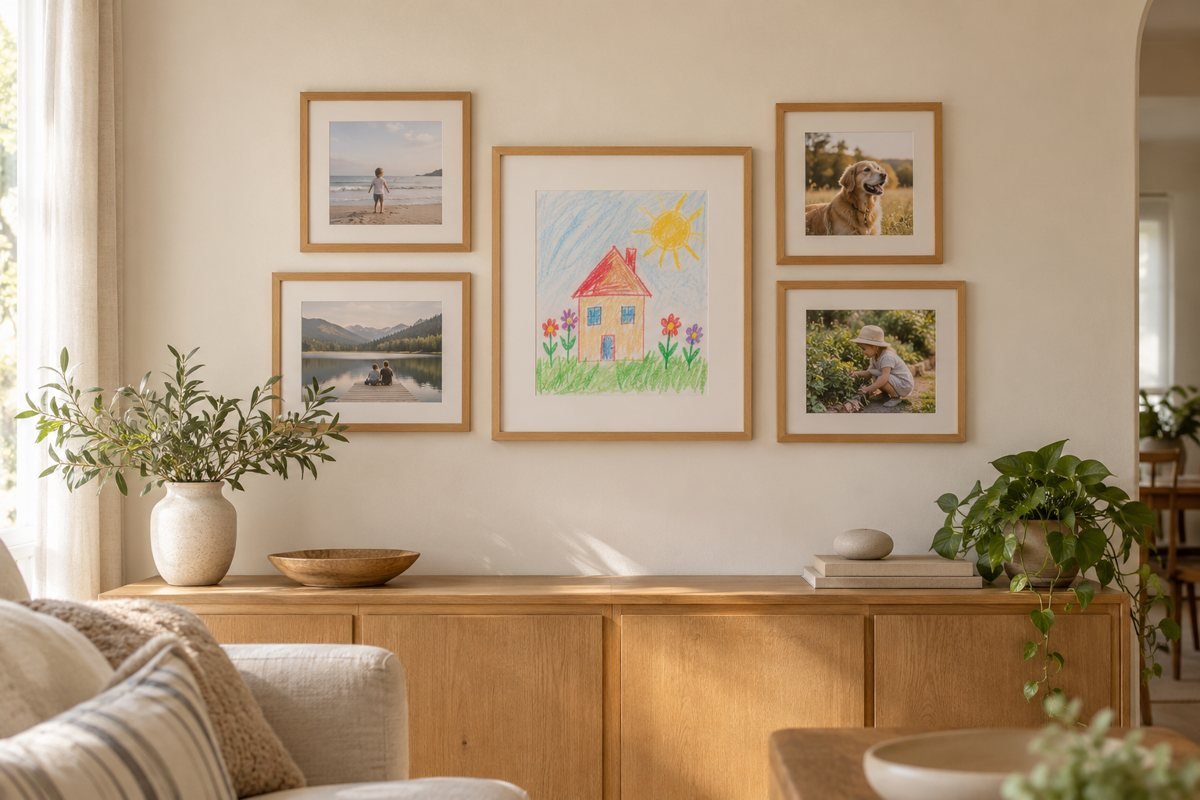
Give one colorful drawing a place among family photos. Leave a plain border around it so the small artwork has room to stand out.
A child’s drawing, a small sketch, or a note can make the wall feel more personal. It does not need to look like art from a shop. Choose a piece with colors or shapes that sit well beside the other pictures.
Give it a frame that fits rather than squeezing it into the nearest spare one. Leave some space around a small drawing if you want it to stand out. You could make one spot for art that changes during the year. That way, new work can join the wall without needing to change the full layout each time.
10. A Travel Memory Wall with Maps and Postcards
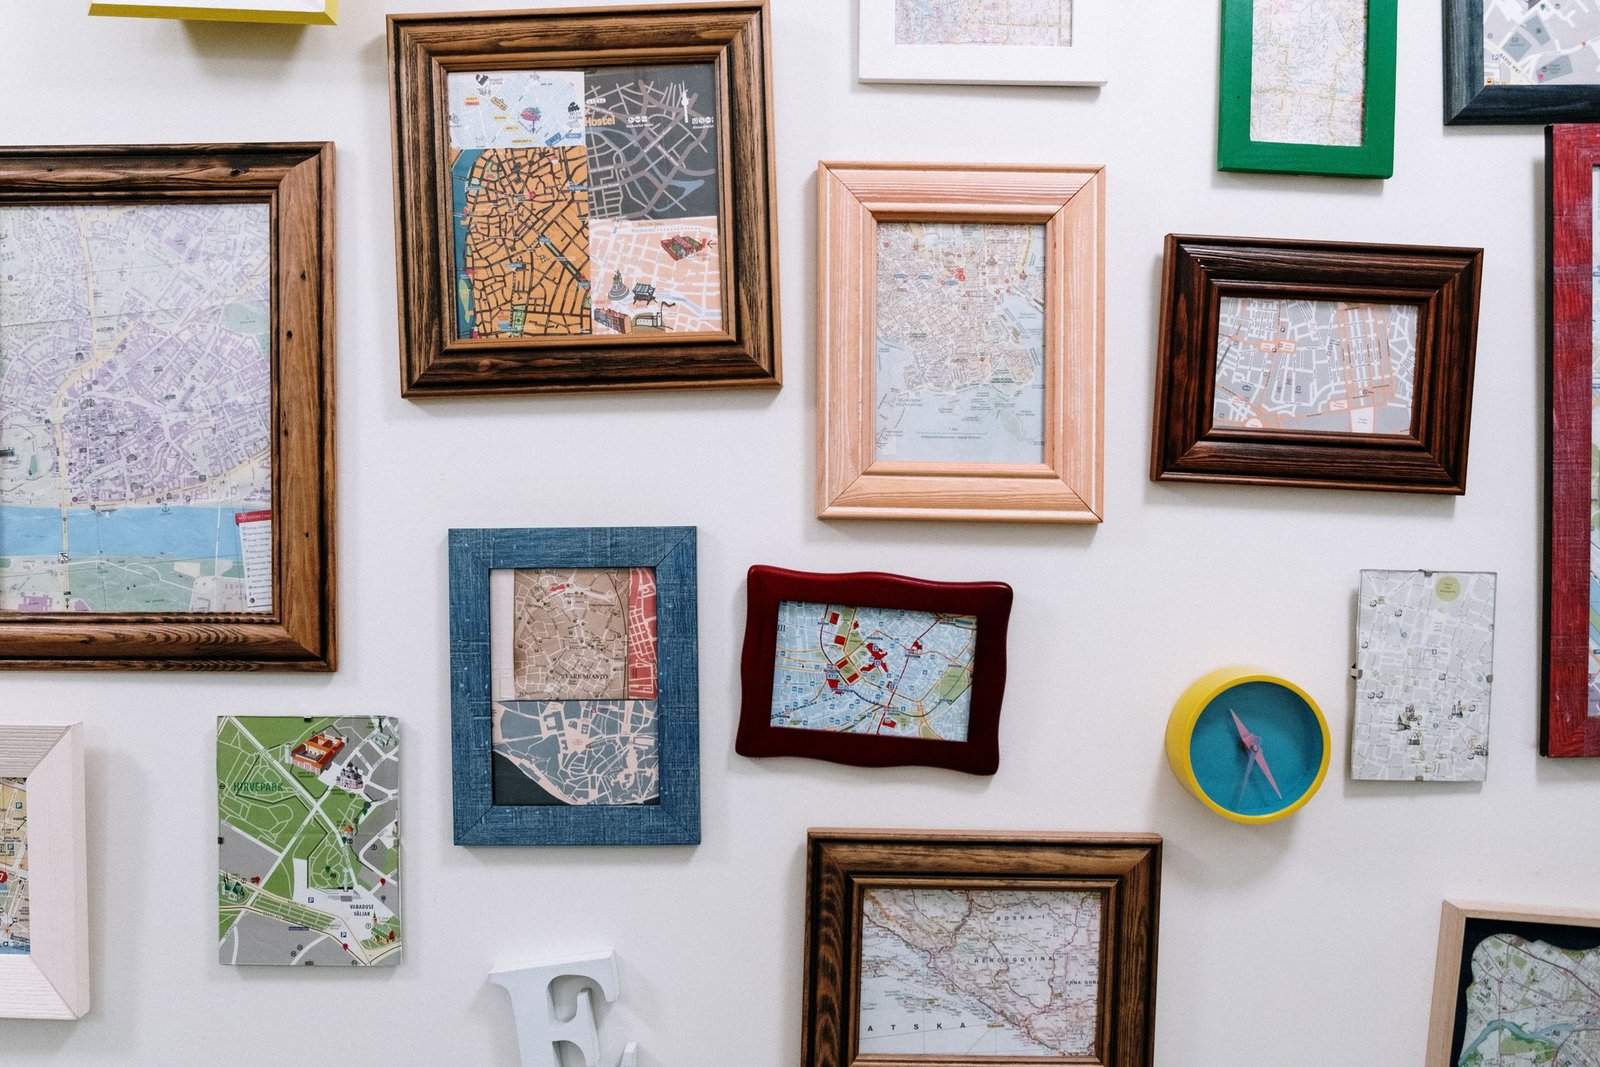
Mix your own travel photos with a map and postcards from places that matter to you. Keep the paper pieces secure in suitable frames.
A gallery wall can hold memories without becoming a wall of portraits. Think about places you return to, streets from a trip, or a view near your old home. Your own photos and postcards can help tell that story.
Choose a few pieces with a link you can explain in one sentence. For example, they might all show places where your family has lived. Keep small paper items secure in suitable frames rather than taping them straight to the wall. If you use new prints, choose images you own or have permission to display and use.
11. Small Photos in Large Frames with White Borders
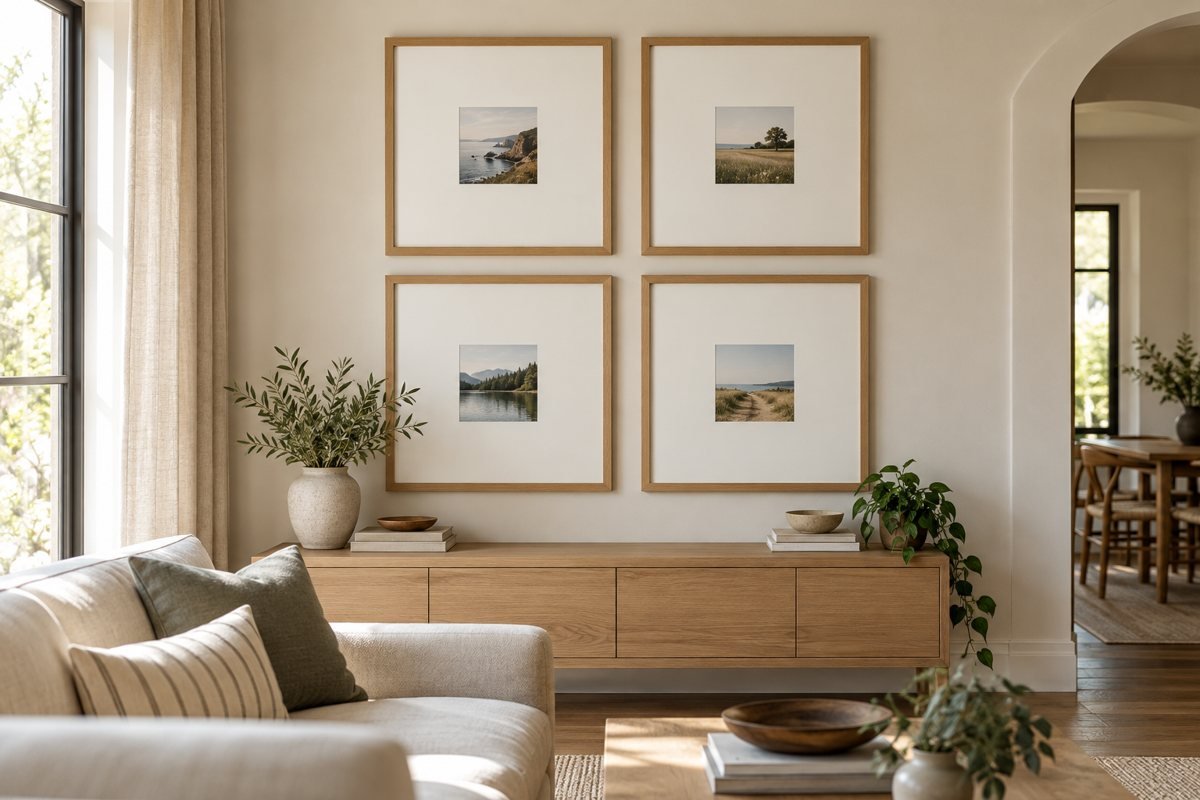
Place small photos in larger frames with wide white borders. The space around each picture gives the group a calm and tidy look.
A tiny photo can feel lost when placed next to larger art. A wider paper border inside the frame can help it hold its own. This border is often called a mat. It also gives the picture a little space away from the frame edge.
Try the effect with a sheet of plain paper before buying a mat. Place the photo in the middle and look at it from across the room. You may find that a simple border makes an old snapshot feel like a finished piece. Keep important original photos safe if you choose to display copies instead.
12. Paper Frame Shapes Arranged Above a Sofa
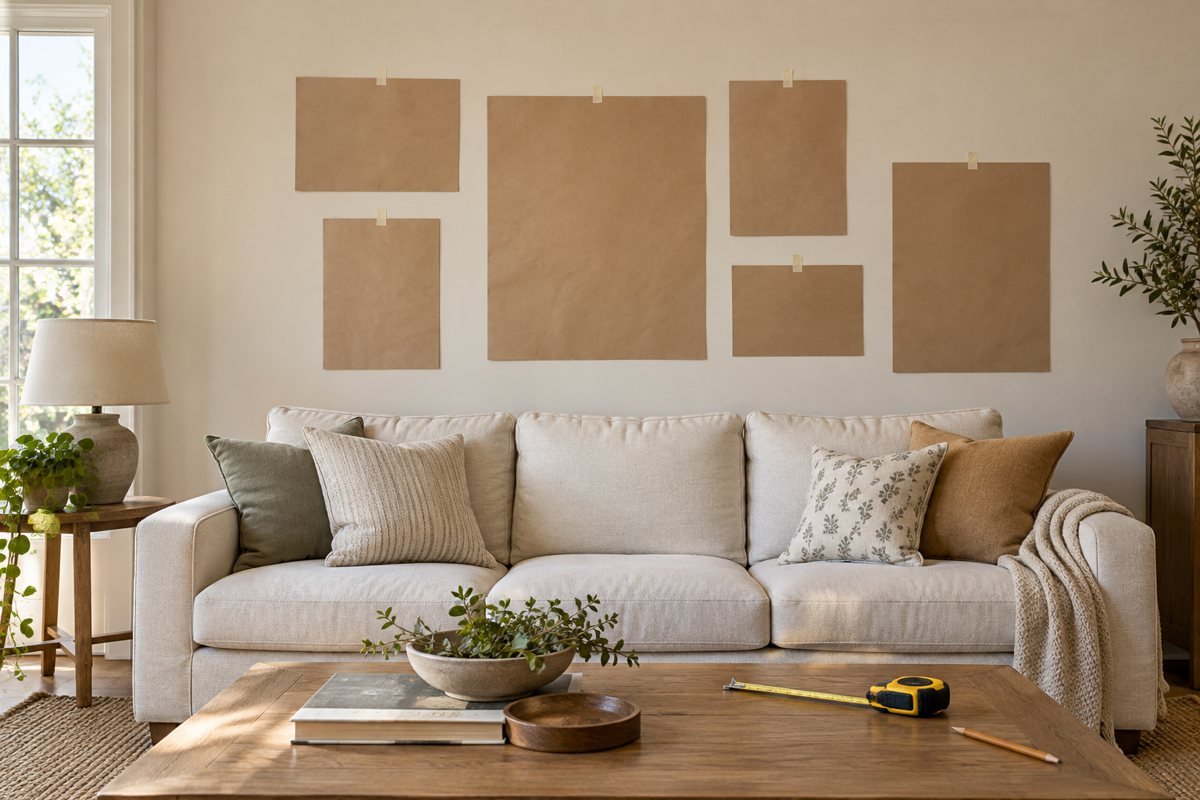
Tape plain paper shapes above your sofa to test the layout and spacing before hanging any frames.
Measure each frame and mark out its shape on plain paper. Write a short label on each piece so you know which picture it stands for. You can then test the group on the wall using a removable tape that suits the surface. Try a hidden spot first and follow the tape’s instructions.
Move the paper pieces until the whole shape feels right. Check the gaps, the furniture below, and any switches or vents nearby. Take a photo from the doorway to compare layouts. You can also arrange the frames on the floor first if you prefer not to tape the wall.
13. A Light-Frame Gallery Above a Narrow Side Table
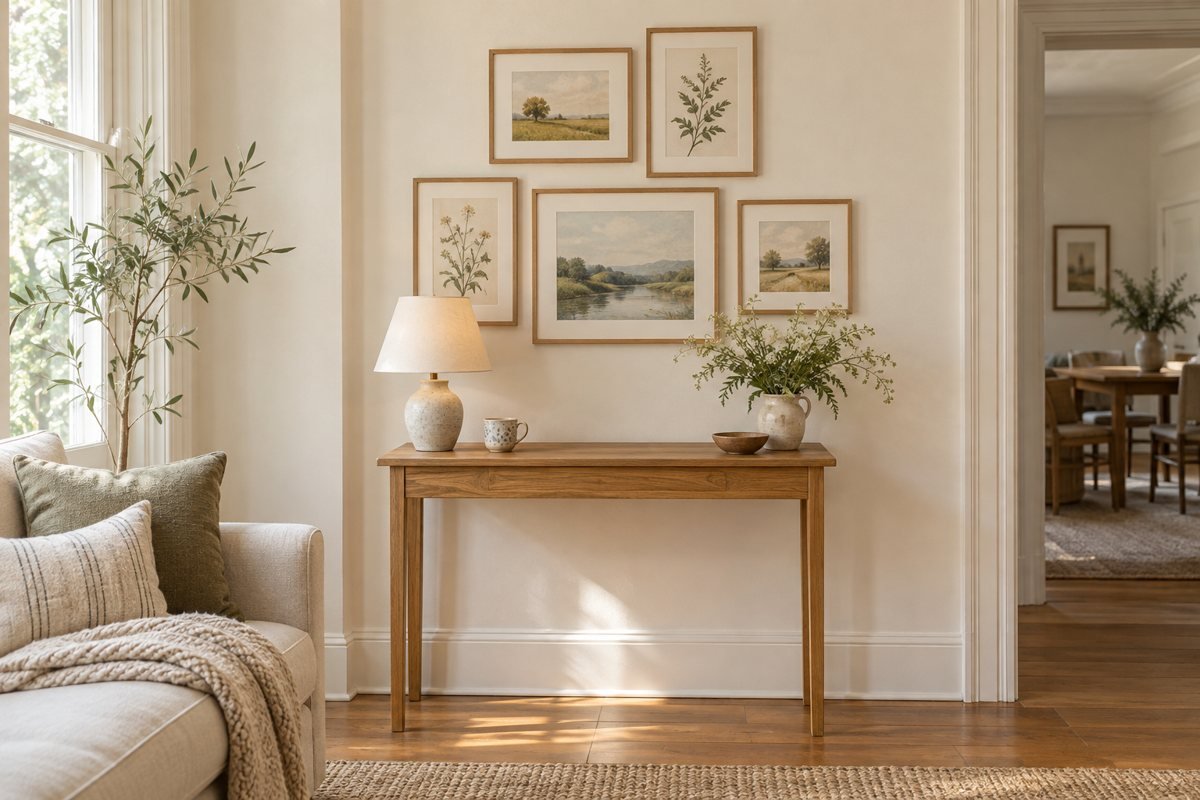
Create a small display of light frames above a narrow side table. Choose suitable fixings for the frames and wall before putting the arrangement in place.
Once the layout works, check what each frame needs to stay secure. Frame weight, wall type, and the hanging point all matter. Follow the fixing maker’s instructions rather than assuming one hook or adhesive strip will suit every piece.
If you rent, check your lease or ask what changes are allowed. A removable product is not a promise that every paint finish will stay untouched. Keep heavy or breakable pieces away from places where they could cause harm if they fell. If you are unsure about drilling or what is behind a wall, get help before you begin.
14. A Gallery Wall with One Easy-to-Change Photo Spot
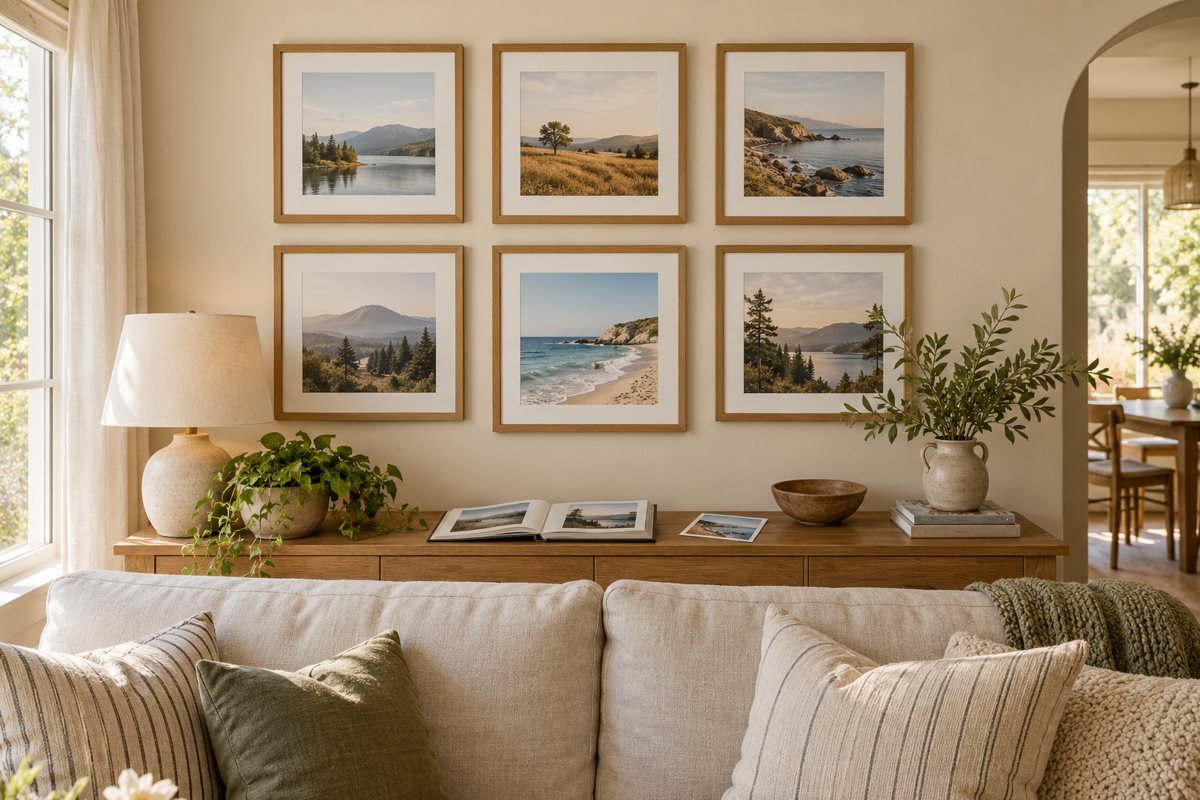
Keep most frames in a steady layout and give one spot to a photo you can change. Use the same frame color so new pictures fit the group.
After the wall is finished, give yourself time to enjoy it before adding more. You may notice that one picture needs a different spot or that a frame catches too much glare. Change one thing at a time so you can see what helps.
Keep spare photos and prints together in a folder. This makes a small refresh easy when you want to add a new memory. There is no rule that every picture must stay forever. A useful gallery wall can grow with your home, while a few colors or frame finishes keep the display feeling connected.
A Wall That Feels Like Your Home
The best place to start is with what you already have. Choose a few pictures, decide how you want them to sit together, and test the layout before hanging them. Leave room to change your mind. You do not need a large budget or a wall full of frames to make the space feel finished.
Keep each choice simple. Can you see the picture from the sofa? Does the group fit the wall? Are the frames secure? When those parts work, the rest comes down to what you enjoy looking at. That is what makes the wall yours.